
Section 1.13 App Inventor Setup (Optional)
45 minutes
As part of AP CSP, your class may choose to develop mobile apps using the Mobile CSP curriculum for MIT’s App Inventor. Imagine making an app that runs on your own phone! App Inventor is a visual block-based drag and drop programming environment that can be used to quickly build mobile apps with many advanced features. Watch the video about App Inventor below.
In this lesson, you will try an already-built App Inventor project and make sure that it runs with your mobile device or computer. App Inventor can be used with Android or iOS phones and tablets as well as Chromebooks. There is a new web-emulator coming soon for App Inventor to use on any computer even without a mobile device!
Subsection 1.13.1 App Inventor Setup Steps

Click to open App Inventor with the App Inventor Template Welcome App (we recommend using the Chrome browser for this). You will need to log in with your Google (or App Inventor) account that you will use for this course. Once the project opens in App Inventor, an embedded tutorial on the left of this app will guide you through the setup directions which are also below.
If you need to come back to your project, you can go to appinventor.mit.edu and click the Create Apps button and login to find your project and open it again. App Inventor is an Integrated Development Environment (IDE) which means that all of the software tools needed to design, develop, and test a mobile app are integrated within the App Inventor platform.
When the project opens, you will be viewing the App Inventor Designer. The Designer is where you will design your app’s User Interface. The app you are testing has a button with an image (which displays on start up), a couple of labels that display text and a Player component that will play an applause sound.
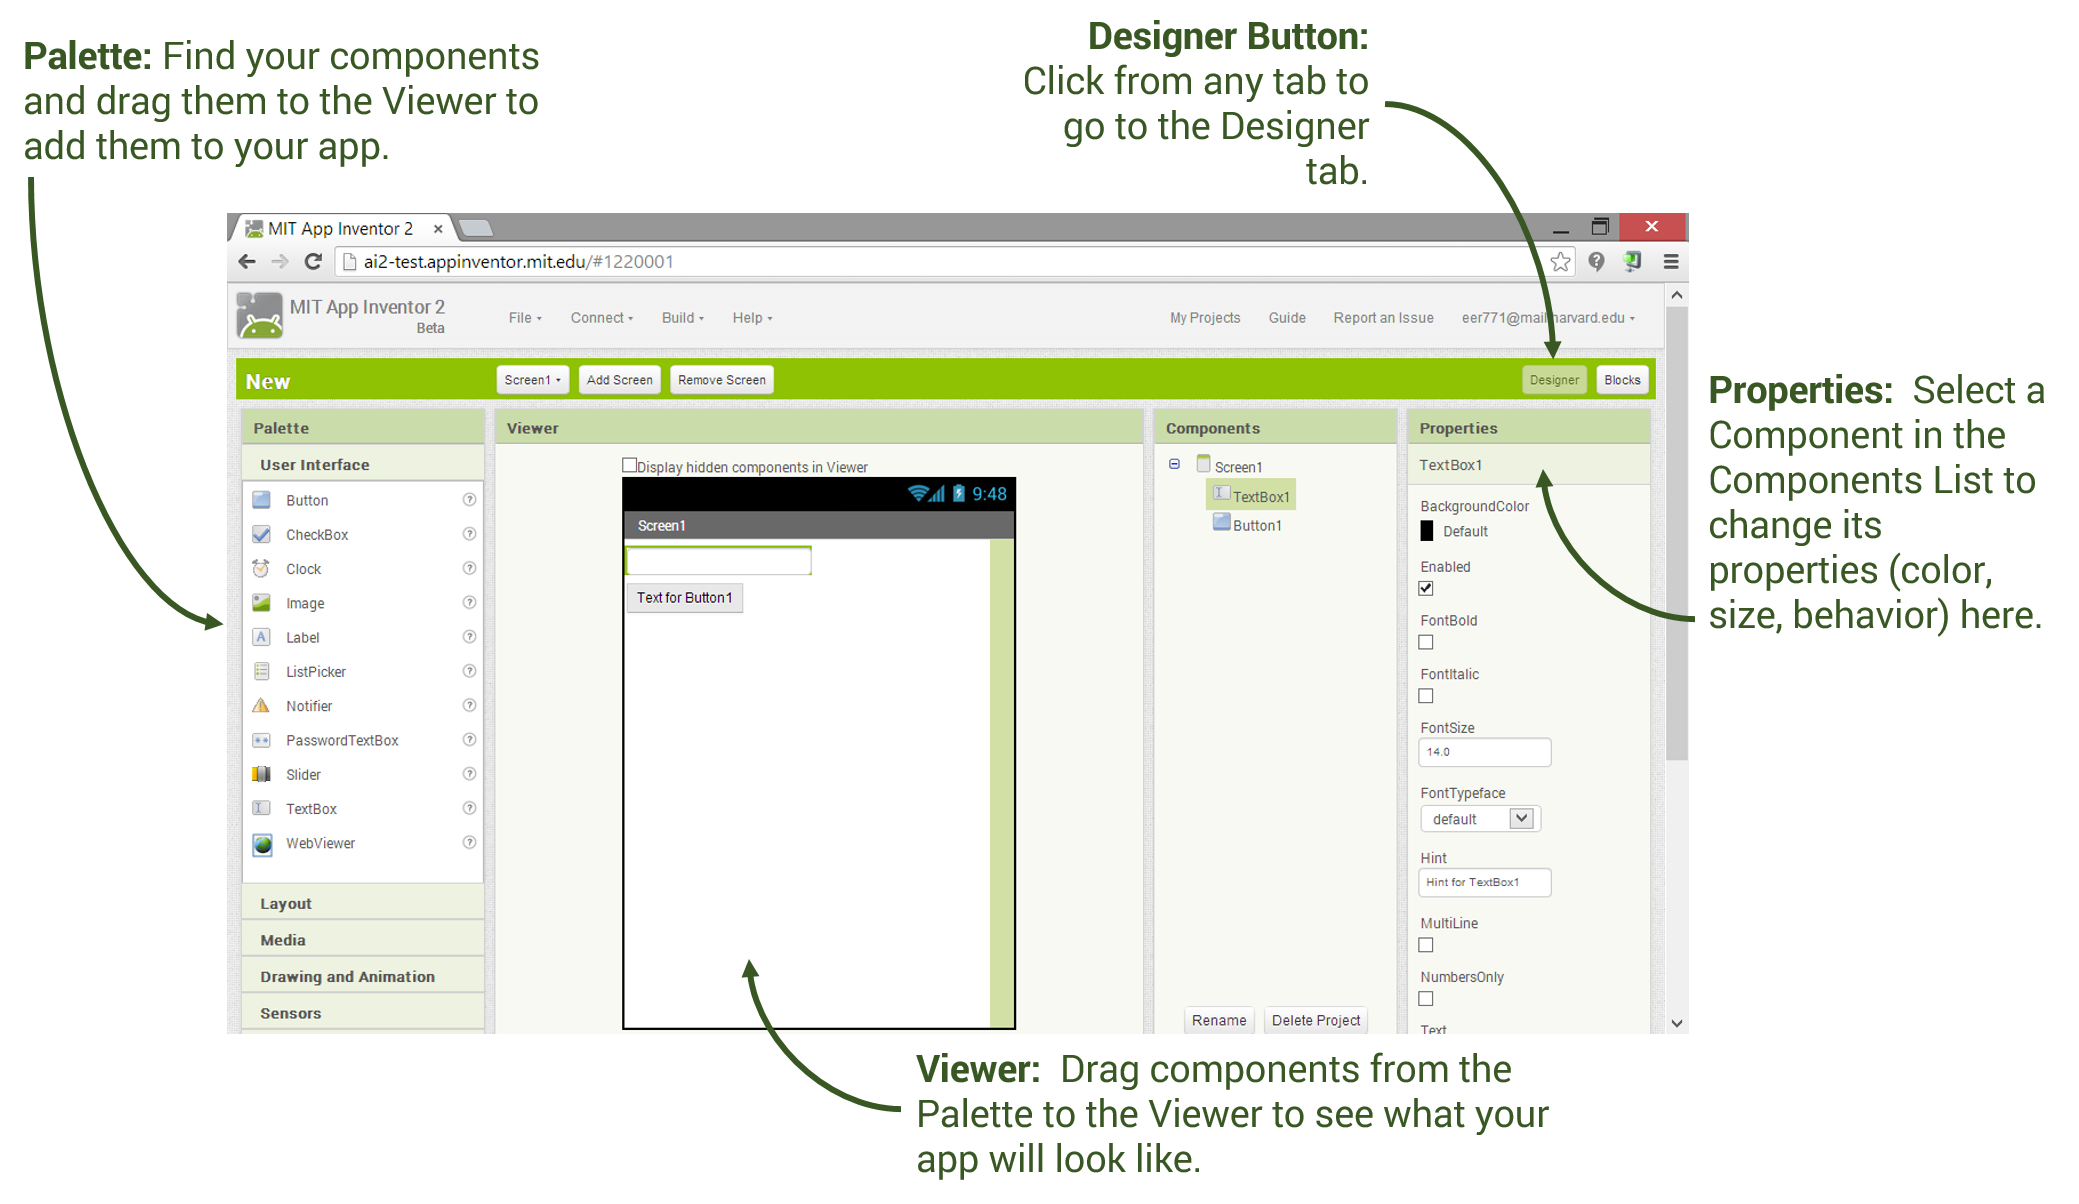
If English is not your first language, you can switch App Inventor to a different language by clicking on English at the top right of the screen
Now, switch to the Blocks Editor by clicking on Blocks in the top right-hand corner of your window.
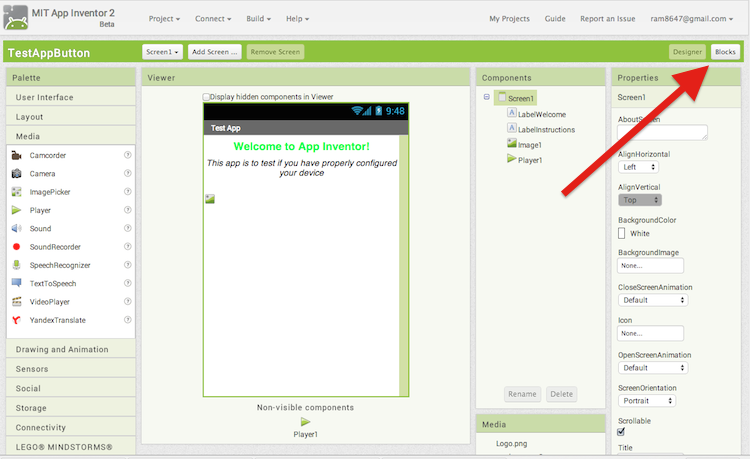
The Blocks Editor is where all the coding happens. There are built-in blocks as well as blocks for any component that you add in the Designer window.
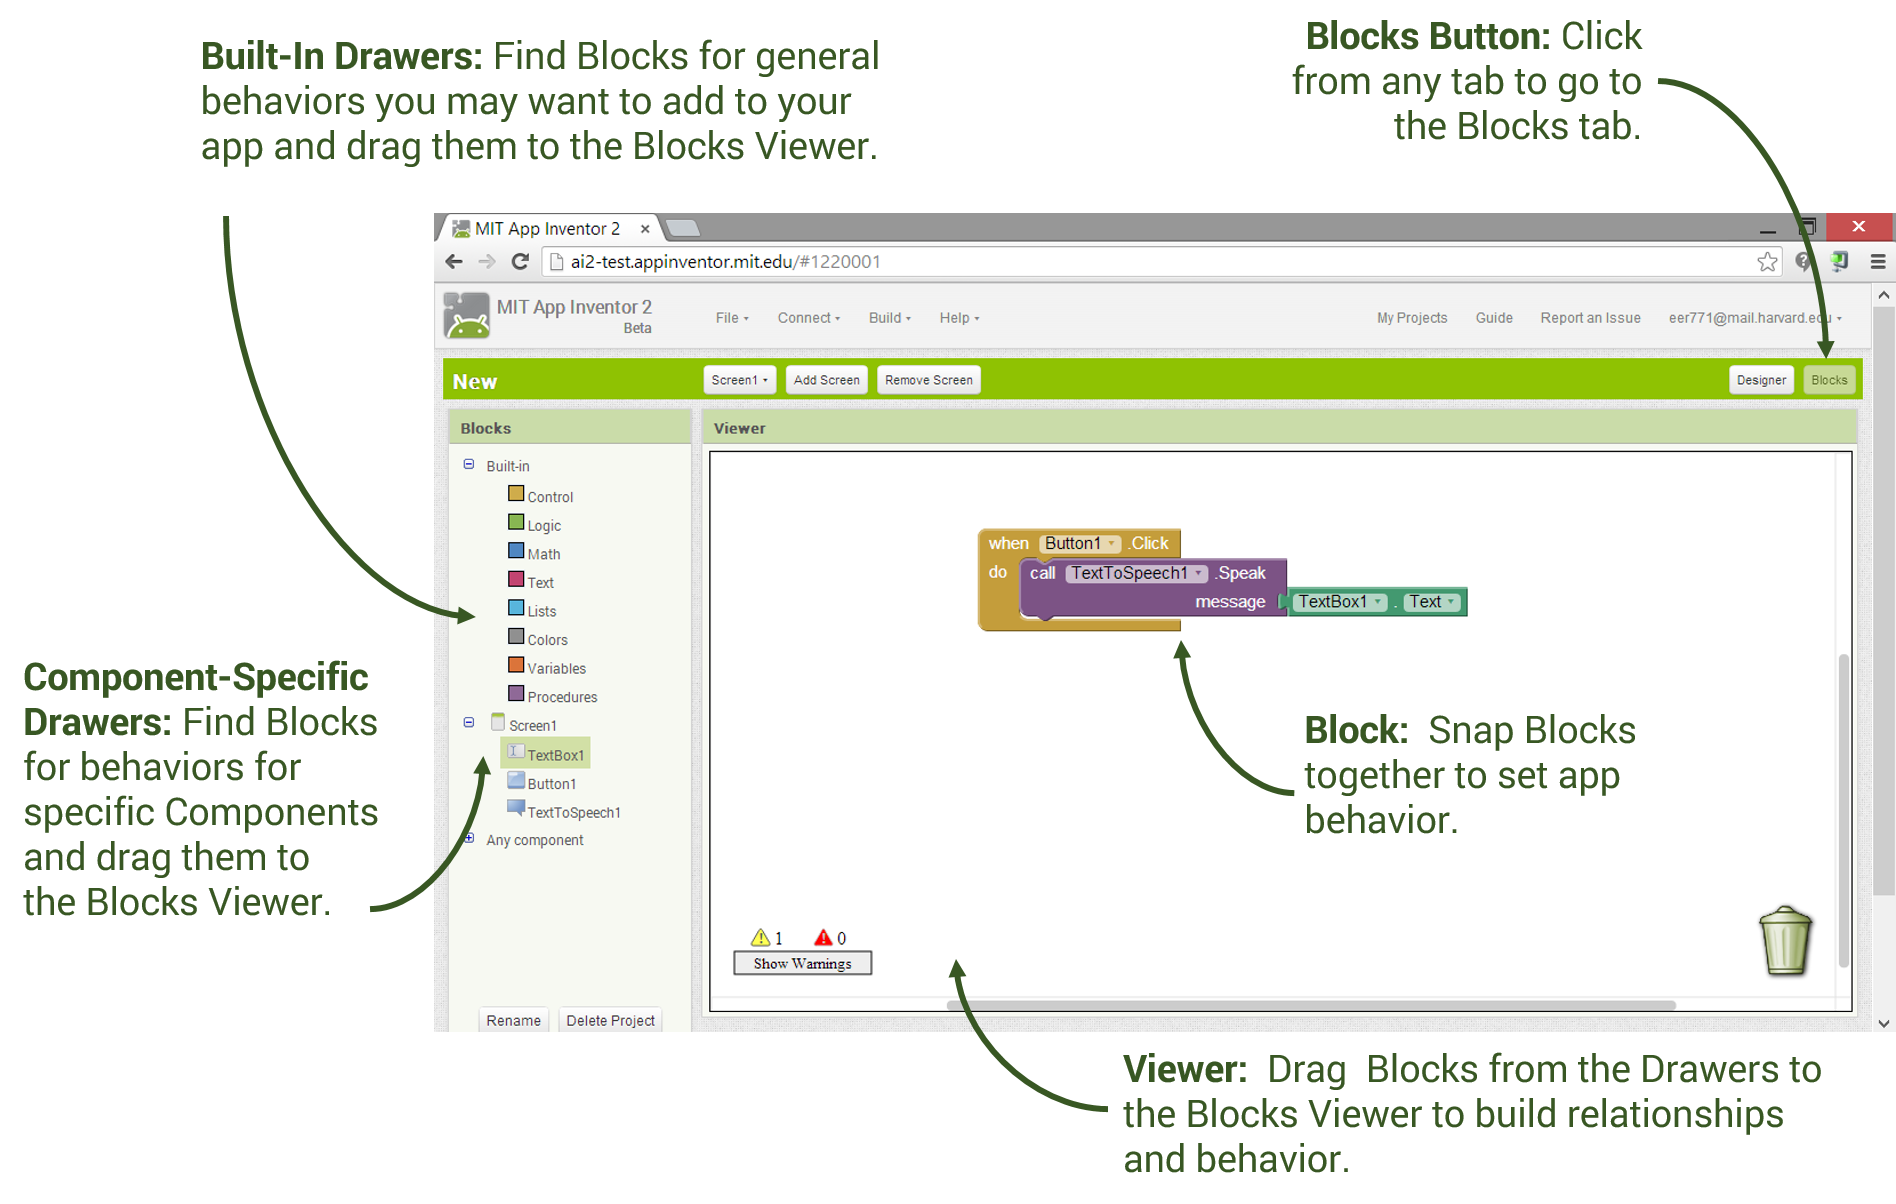
Notice that App Inventor blocks connect together like puzzle pieces. The blocks for this app will cause it to display a congratulatory message on your screen and play an applause sound on start up. When the button with the logo is clicked, the app will change the background color and say hello.
To connect your mobile device to App Inventor:
-
Make sure that both your computer and your phone or tablet are connected to the same wifi or that you are using a Chromebook.
-
Install the Android MIT AI2 Companion app or iOS MIT App Inventor Companion from the Play Store.
-
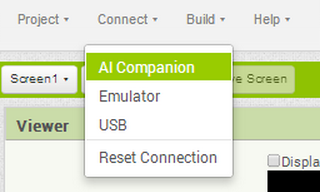
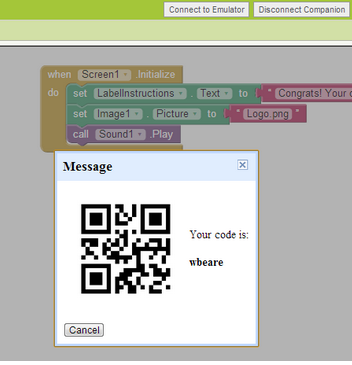
In App Inventor on your computer, click Connect and then select AI Companion. This will display a 6-letter code both as a barcode and as plain text. (Note: The 6-letter code will be a unique code and different from the one shown below)
-
On the companion app, either type in the 6-letter code and click the “Connect to App Inventor” button or scan the barcode. You should see the app on your device!
For set up instructions to use a USB connection instead of WiFi, please go here and follow steps 1-6.
There is a new web-emulator coming soon for App Inventor!
If everything is configured properly, you should see the Welcome app on your device or emulator. You should see a message and the Mobile CSP logo. You should also hear a round of applause for your great work! Try clicking on the logo too and changing some things like the notifier message or the background color as described in the embedded tutorial.
If the app is not running correctly, you may need to retrace your setup steps to make sure you performed all of the necessary steps. Make sure your mobile device and your computer are on the same WiFi or other network. If the app seems frozen, try Connect/Reset Connection and then try Connect/AI Companion again. See the Troubleshooting page or try another method of connecting your device such as USB or using the emulator.
You have attempted of activities on this page.

