A pull request is the mechanism by which you ask the maintainers of a project to consider merging your changes into the upstream main branch.
Exercises
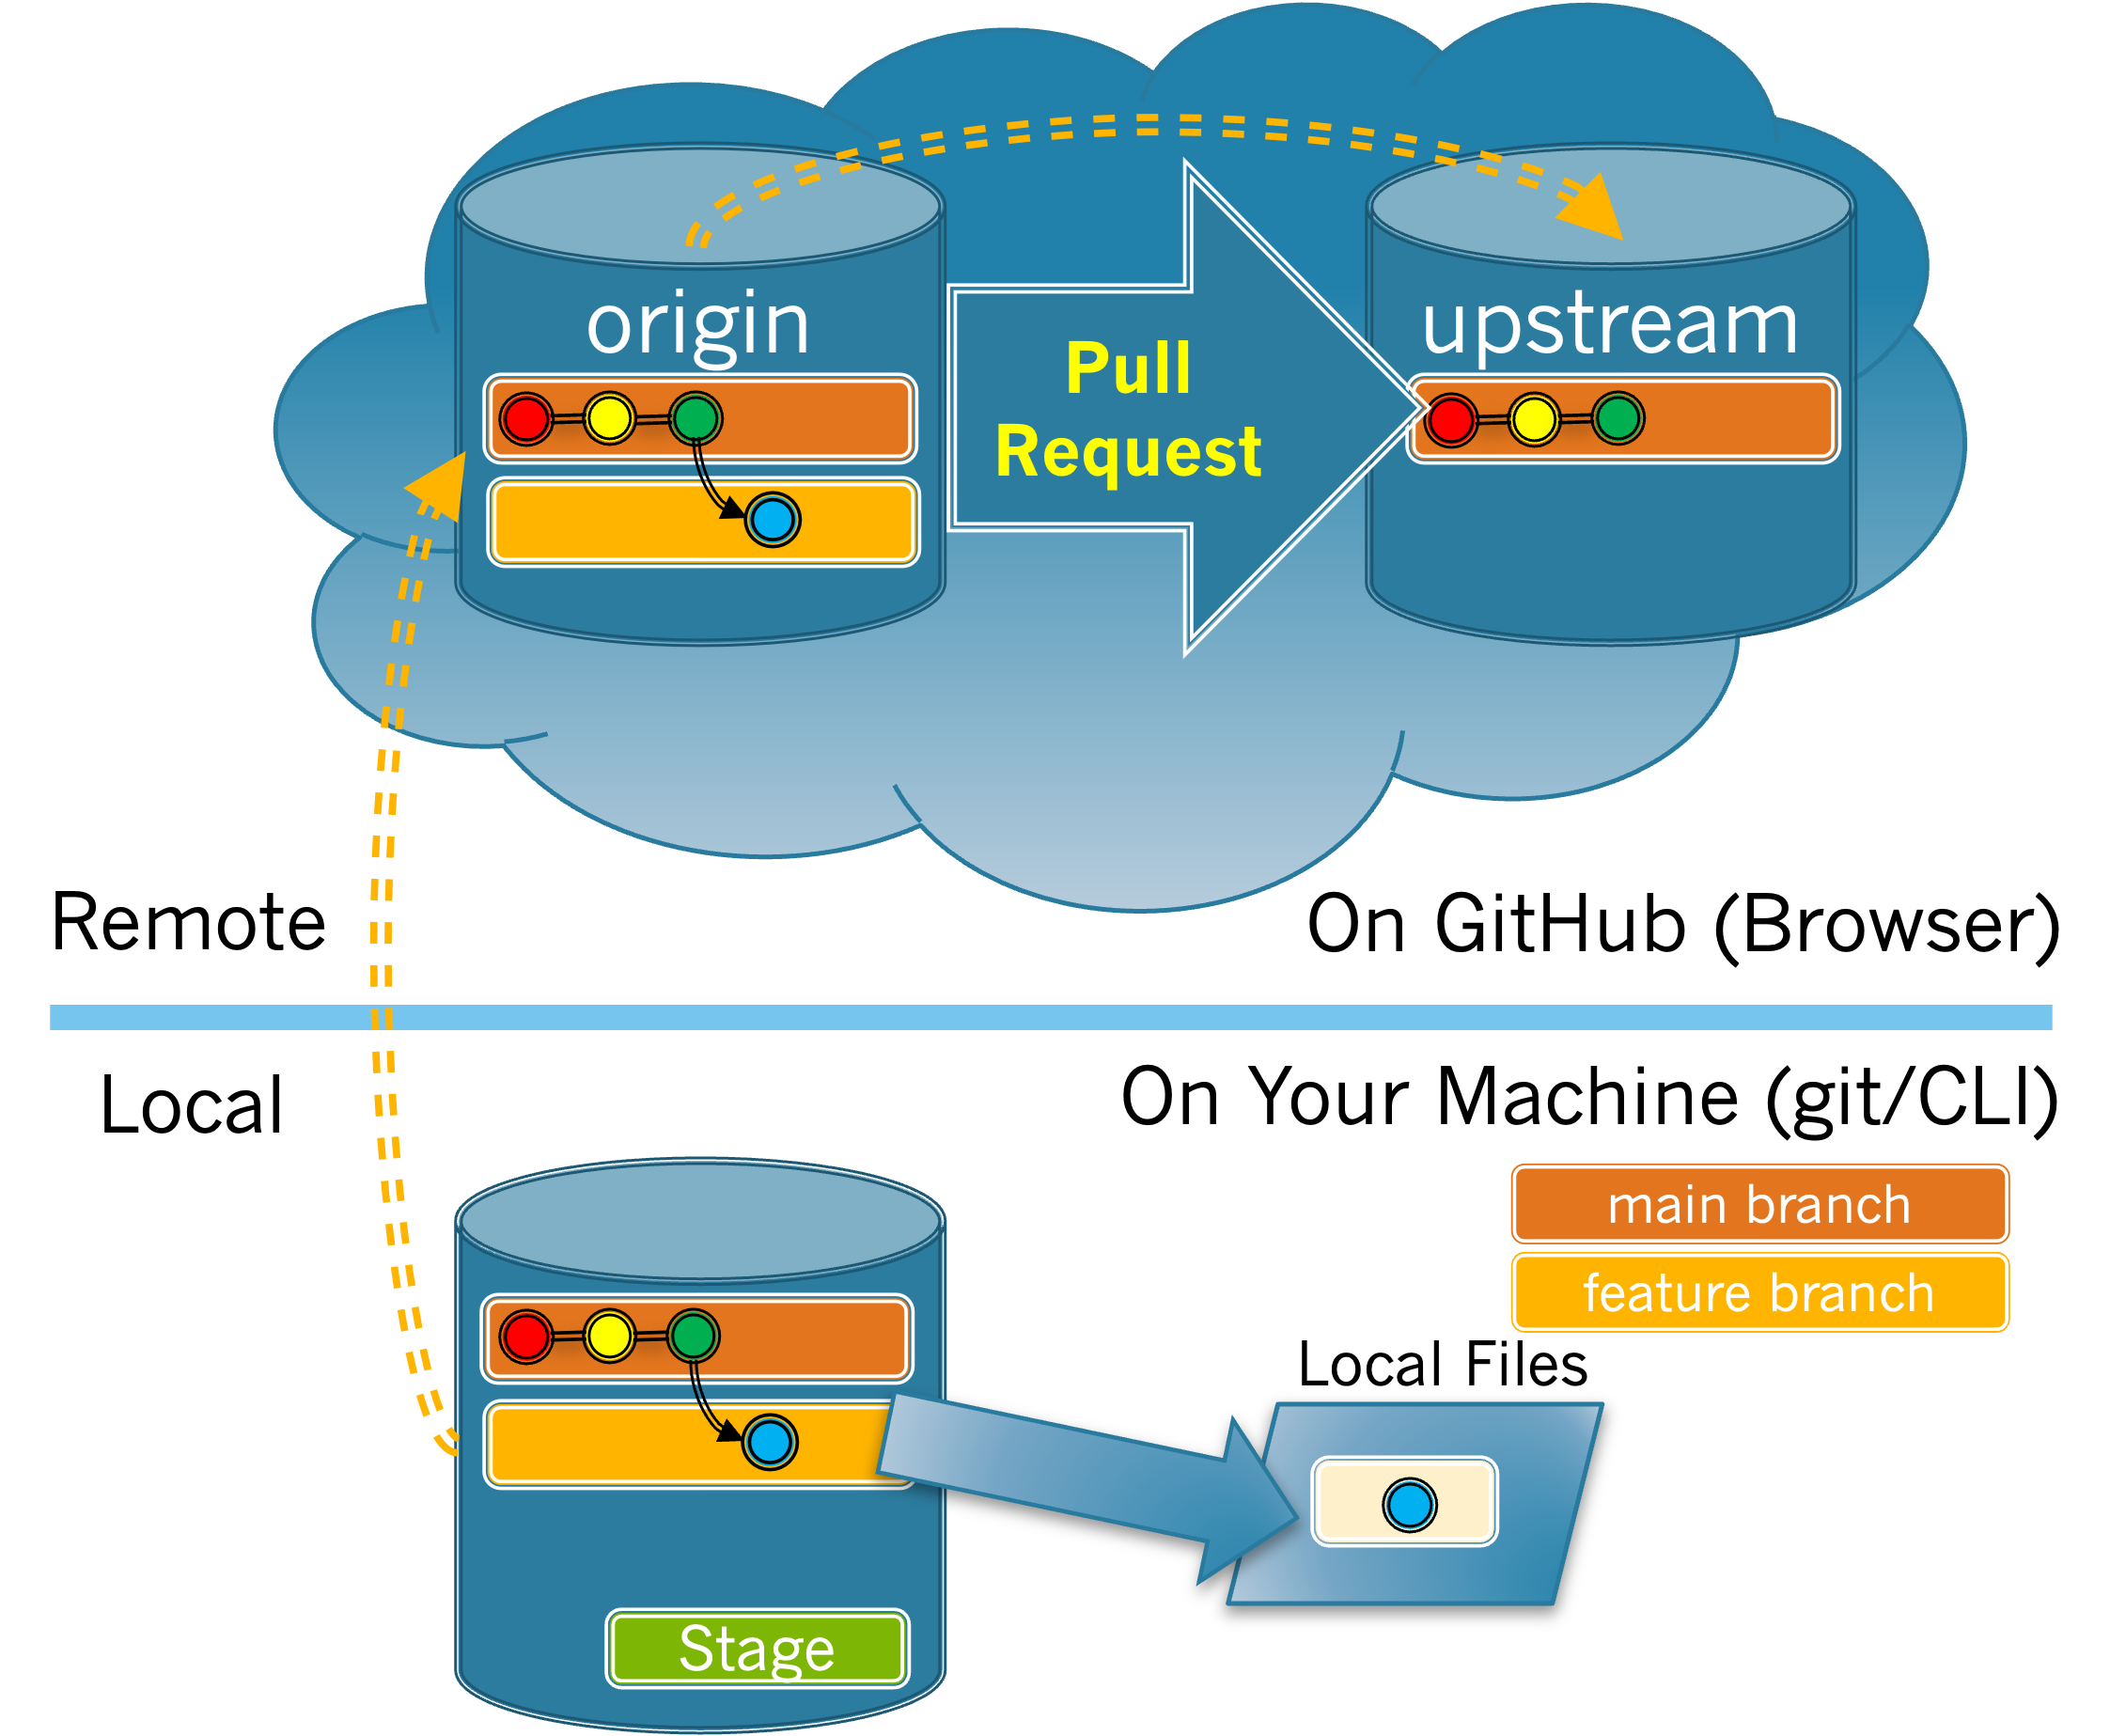
As shown in Figure 3.8.1, a pull request is made from your origin repository, which must contain your feature branch, to the upstream repository. In the last section, you pushed your feature branch to your origin repository, so you are now ready to make a pull request.
Figure3.8.1.Making a Pull Request.
1.
There are a number of different ways to make a pull request in GitHub. In general, they are all equivalent and it won’t matter which one you use. The following steps will walk you through one of those ways.
(a)
When you first push a feature branch GitHub assumes that you are likely to make a pull request for it. To make this easy it will automatically display a big green “Compare & pull request” button at the top of the page for your origin repository.
Click that button. You will use the page that appears to create your pull request.
(b)
A gray bar similar to the one shown below should appear at the top of the page.
This bar specifies the repositories and branches that are involved in the pull request. That is, they indicate which branch you are requesting to be pulled from which repository and to which branch in which repository you would like it to be merged.
Note that the specific information that you see in your browser will be different than what is shown above.
The questions in this exercise will help you to better understand what this information means.
(i)
Copy the URLs from the gray bar into the textboxes below.
(A)
Base Repository
(B)
Head Repository
(ii)
The terms “Base Repository” and “Head Repository” in Task 3.8.1.b.i are generic labels that GitHub uses for the two repositories that are involved in the pull request. Often, and in our case, these two repositories will be your origin repository and the project’s upstream repository. Examine the URL’s from Task 3.8.1.b.i and match the right hand column with either head repository or base repository to indicate which term refers to your origin and which refers to the upstream.
head repository
your origin repository
base repository
the upstream
Hint.
The base is where you want your changes merged into/the repository you created your fork from. The head is where your changes are being pulled from/the branch you pushed to your GitHub account from your local machine.
(iii)
The information in the gray bar also indicates the branches involved in the pull request. It uses the generic labels of base and compare for these branches. Match the right hand column with either base branch or compare branch to indicate which is “pulled from” or “merged into”.
base branch
merged into
compare branch
pulled from
Hint.
The base is where you want your changes merged into. The head is where your changes are being pulled from.
2.
(a)
Give your PR a descriptive title - a similar idea to using meaningful commit messages.
(b)
Replace the <add description> in the body of the PR with a longer description of your changes.
(c)
If a PR fixes an issue, which yours does, then you should include a line in the body of the PR that says exactly: Fixes #123 or exactly: Closes #123.
When a PR with one of these lines is merged into the project the listed ticket from the issue tracker (e.g. 123 in this example) will be closed automatically. Including these lines is very helpful to the project maintainers because then they do not have to remember to go close the associated ticket each time they merge a pull request.
Add a line to the body of the PR that will close the issue that you fixed.
The #123 part of the line should automatically become a link to the ticket. If it does not, check to be sure you have entered the information exactly as shown above.
(d)
Check that status of your PR and confirm that it can be merged automatically. The status will be listed at the top of the GitHub page below the image from Task 3.8.1.b
(e)
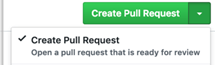
Click the green button to create the Pull Request.
3.
Go to the upstream repository on GitHub and open the “Pull Requests” tab:
Find your Pull Request and give a link to it here.
4.
On your pull request page there will be “Files Changed” tab:
Open that tab. At the bottom of that page will be a diff that shows the changes that you have made. This diff shows both the upstream version of the code and your version of the code. It also indicates the changes you have made. The project maintainers will often use this diff to see the details of what you have changed.
(a)
Briefly describe how the diff indicates the changes that you made.
The line(s) which contains the change(s) appears twice. Once in red with the old version and once in green with the new version. The change(s) appear in both in bold.
The line(s) which contains the change(s) appears once in red.
The line(s) which contains the change(s) appears once in green.
Only the changed word(s) appear with the old in strike through and the new next to it.